
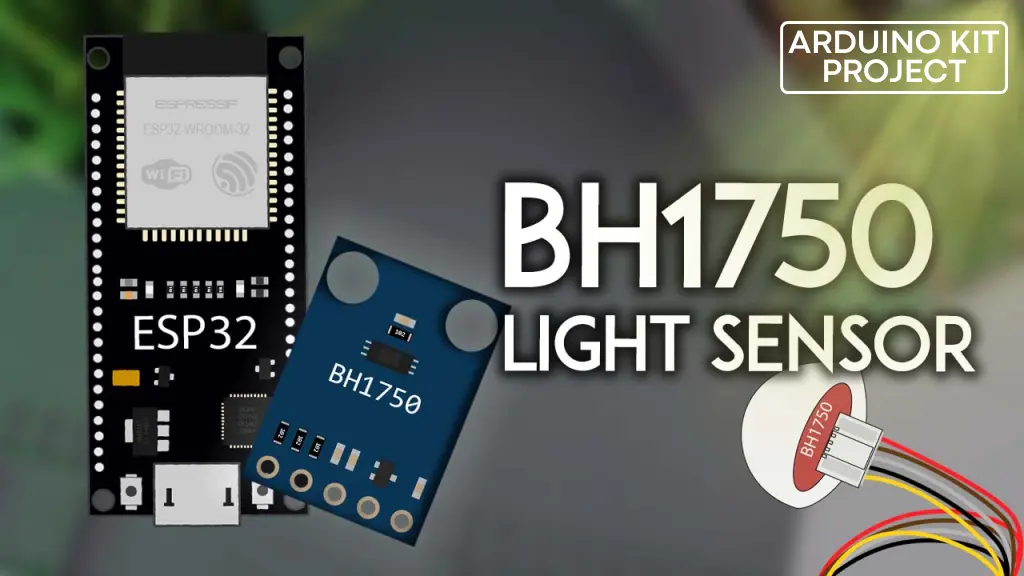
The BH1750 serves as a 16-bit ambient light sensor. This guide will take you through the steps of using the BH1750 ambient light sensor with the ESP32 board using the Arduino IDE. The sensor communicates with a microcontroller via the I2C communication protocol.
You will receive instructions on connecting the sensor to the ESP32 board, installing the required libraries, and running a simple sketch to display the sensor readings in the Serial Monitor.
Introducing the BH1750 Ambient Light Sensor
Say hello to the BH1750 ESP32, a high-performance ambient light sensor with 16-bit resolution. Operating seamlessly through the I2C protocol, this sensor provides accurate luminosity measurements in lux. With a wide range from 1 lux to 65535 lux, it adapts to diverse lighting conditions.
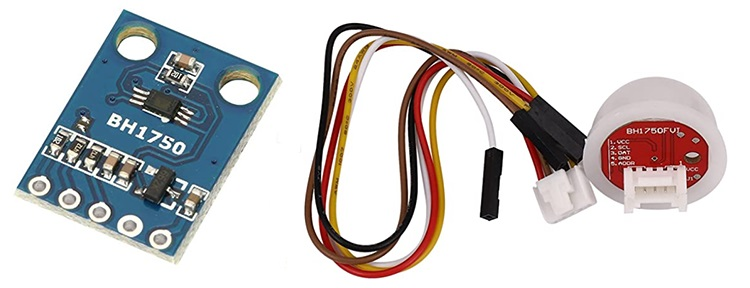
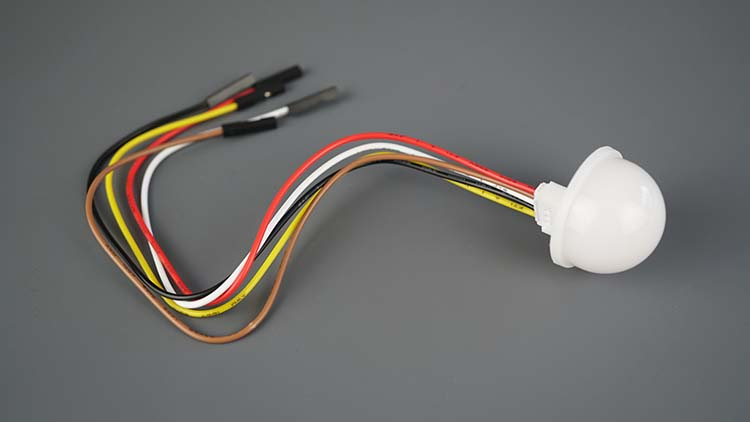
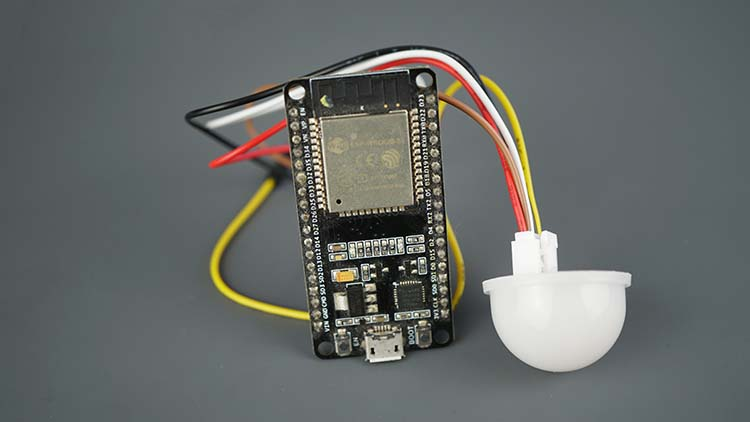
Available in various breakout board formats, the BH1750 caters to your project’s specific needs. Explore its versatility and design options in the images below.
Follow our guide to effortlessly integrate the BH1750 with your ESP32 board using the Arduino IDE. From wiring to sketching, unlock the potential of this sensor for precise and efficient ambient light measurements in your projects.
BH1750 Features
Here’s a list of the BH1750 sensor features. For more information consult the BH1750 sensor datasheet.
- I2C bus Interface
- Spectral responsibility is approximately human eye response
- Illuminance to digital converter
- Range: 1 – 65535 lux
- Low current by power down function
- 50Hz / 60Hz Light noise reject-function
- It is possible to select 2 different I2 C slave addresses
- Small measurement variation (+/- 20%)
- The influence of infrared is very small
- Supports continuous measurement mode
- Supports one-time measurement mode
Measurement Modes
The sensor provides support for two distinct measurement modes: continuous measurement mode and one-time measurement mode. Each mode offers three different resolution options.
| Low Resolution Mode | 4 lux precision | 16 ms measurement time |
| High Resolution Mode | 1 lux precision | 120 ms measurement time |
| High Resolution Mode 2 | 0.5 lux precision | 120 ms measurement time |
In continuous measurement mode, the sensor consistently measures ambient light values. Conversely, in one-time measurement mode, the sensor captures the ambient light value once and subsequently enters power-down mode.
Applications
The BH1750 ESP32, functioning as an ambient light sensor, finds utility in a diverse array of projects. Examples include:
- to detect if it is day or night;
- to adjust or turn on/off LED’s brightness accordingly to ambient light;
- to adjust LCDs and screen’s brightness;
- to detect if an LED is lit;
- …
BH1750 Pinout
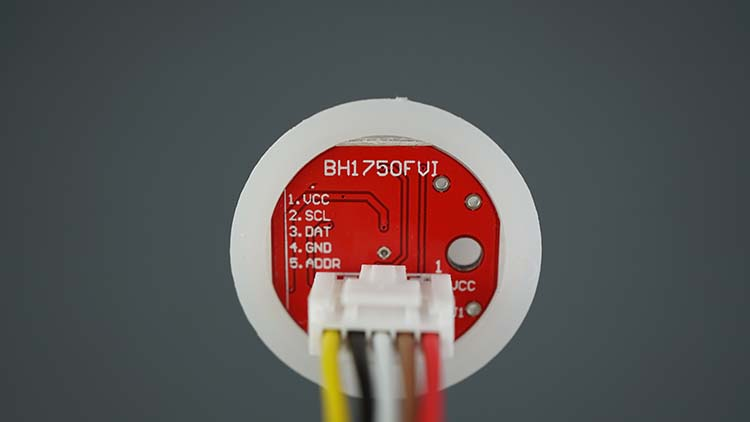
Here’s the BH1750 Pinout:
| VCC | Powers the sensor (3.3V or 5V) |
| GND | Common GND |
| SCL | SCL pin for I2C communication |
| SDA (Data) | SDA pin for I2C communication |
| ADD* | Selects address |
The ADD pin is employed to set the I2C sensor address. If the voltage on the ADD pin is below 0.7VCC (either left floating or connected to GND), the I2C address is configured as 0x23. Conversely, if the voltage exceeds 0.7xVCC (connected to VCC), the address is adjusted to 0x5C. In summary:
- ADD pin floating or connected to GND → address:
0x23 - ADD pin connected to VCC → address:
0x5C
BH1750 I2C Interface
The BH1750 ambient light sensor supports I2C interface.
You can connect the BH1750 sensor to the ESP32 using the default’s I2C pins:
| BH1750 | ESP32 |
| SCL | GPIO 22 |
| SDA | GPIO 21 |
GPIO 22 and GPIO 21 are the ESP32 default I2C pins. You can use other pins as long as you set them properly on code.
BH1750: Read Ambient Light with ESP32
Now that you are more familiar with the BH1750 sensor, let’s test it. In this section, we’ll build a simple project that reads the ambient light and displays it in the Arduino IDE Serial Monitor.
Schematic – ESP32 with BH1750
Wire the BH1750 sensor to the ESP32 I2C pins. You can follow the next schematic diagram.
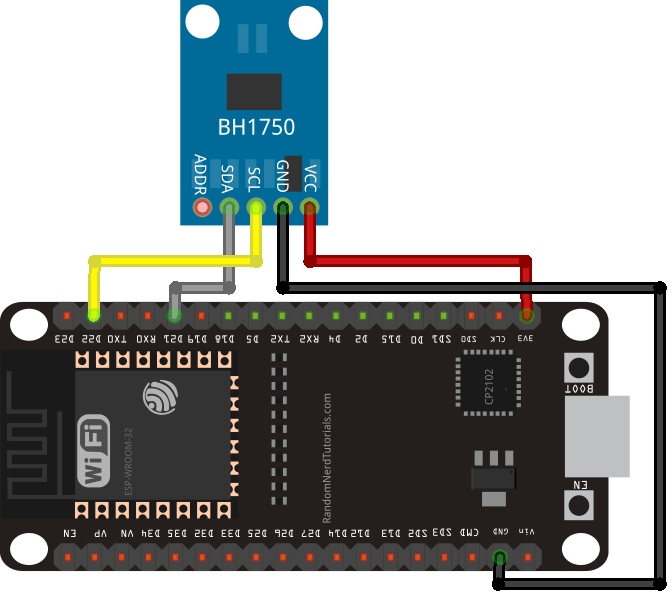
You can also follow the next table:
| BH1750 | ESP32 |
| VCC | 3.3V |
| GND | GND |
| SCL | GPIO 22 |
| SDA (Data) | GPIO 21 |
| ADD* | Don’t connect |
By not connecting the ADD pin, we’re selecting 0x23 I2C address. Connect it to 3.3V to select 0x5C address instead.
Parts Required
| Component Name | Buy Now |
| ESP32-WROOM-32 Development | Amazon |
| GY-302 BH1750 BH1750FVI light intensity illumination module for arduino | Amazon |
Preparing Arduino IDE
To program the ESP32 board using the Arduino IDE, ensure that you have the ESP32 add-on installed. Follow the instructions in the subsequent tutorial:
Installing the BH1750 Library
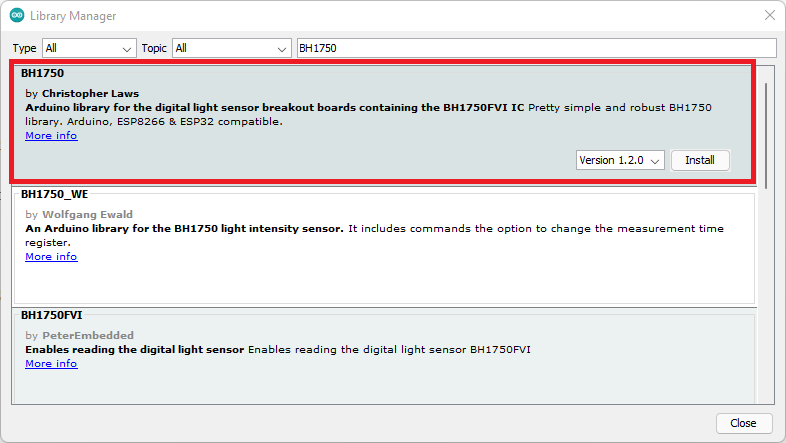
Multiple libraries are available for reading data from the BH1750 sensor. In this guide, we’ll utilize the BH1750 library developed by Christopher Laws. This library is compatible with the ESP32, ESP8266, and Arduino platforms.
Open your Arduino IDE and navigate to Sketch > Include Library > Manage Libraries. This action will open the Library Manager.
In the Library Manager, enter “BH1750” into the search box and proceed to install the BH1750 library.
Code – Reading BH1750 Ambient Light Sensor
Paste the code provided below into your Arduino IDE. This code straightforwardly reads ambient light in lux and showcases the values on the Serial Monitor. It is the sample code extracted from the library named “BH1750test,” which can be accessed through File > Examples > BH1750 > BH1750test.
/*
  Example of BH1750 library usage. This example initialises the BH1750 object using the default high resolution continuous mode and then makes a light level reading every second.
*/

#include <Wire.h>
#include <BH1750.h>

BH1750 lightMeter;

void setup(){
  Serial.begin(9600);

  // Initialize the I2C bus (BH1750 library doesn't do this automatically)
  Wire.begin();
  // On esp8266 you can select SCL and SDA pins using Wire.begin(D4, D3);
  // For Wemos / Lolin D1 Mini Pro and the Ambient Light shield use Wire.begin(D2, D1);

  lightMeter.begin();

  Serial.println(F("BH1750 Test begin"));
}

void loop() {
  float lux = lightMeter.readLightLevel();
  Serial.print("Light: ");
  Serial.print(lux);
  Serial.println(" lx");
  delay(1000);
}
The library also provides other examples worth exploring.
How the Code Works
The initial step involves including the necessary libraries: the Wire.h library for utilizing the I2C communication protocol and the BH1750.h library for reading data from the sensor.
#include <Wire.h>
#include <BH1750.h>
Following this, a BH1750 object named “lightMeter” is created.
BH1750 lightMeter;
In the setup() section, initialize the Serial Monitor with a baud rate of 9600.
Serial.begin(9600);
Initialize the I2C communication protocol, initiating communication on the microcontroller’s default I2C pins. If alternative I2C pins are preferred, they can be specified in the begin() method, like so: Wire.begin(SDA, SCL).
Wire.begin();
Initialize the sensor using the begin() method on the BH1750 ESP32 object (lightMeter).
lightMeter.begin();
Within the loop(), a variable called “lux” is created to store luminance values. To obtain the value, the readLightLevel() function is invoked on the BH1750 object (lightMeter).
float lux = lightMeter.readLightLevel();
Finally, display the measurement on the Serial Monitor.
Serial.print("Light: ");
Serial.print(lux);
Serial.println(" lx");
This process repeats, obtaining and printing a new reading every second.
delay(1000);
Demonstration
Get ready to upload the code to your board by connecting it to your computer. Go to Tools > Board and select the appropriate ESP32 board. Then, navigate to Tools > Port and choose the COM port connected to your board. Click the upload button to initiate the process.
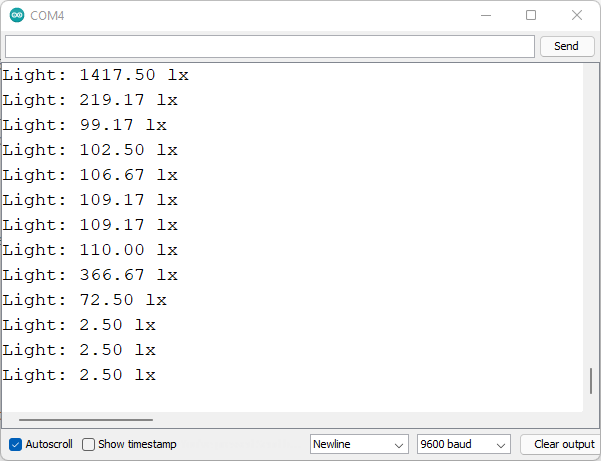
After successfully uploading the code, open the Serial Monitor with a baud rate of 9600 and press the on-board RST button on the ESP32.
The Serial Monitor will then present the most recent luminance readings.
Additional Functionalities
The BH1750 sensor library offers a variety of examples that highlight additional useful functions and features. You can explore all BH1750 library examples here.
Modifying Measurement Mode
By default, the library utilizes the continuous high-resolution measurement mode. However, you have the flexibility to adjust it by specifying the desired measurement mode during the sensor initialization using the begin() method. For example:
lightMeter.begin(BH1750::CONTINUOUS_HIGH_RES_MODE)
Here’s a list of all available modes:
BH1750_CONTINUOUS_LOW_RES_MODEBH1750_CONTINUOUS_HIGH_RES_MODE(default)BH1750_CONTINUOUS_HIGH_RES_MODE_2BH1750_ONE_TIME_LOW_RES_MODEBH1750_ONE_TIME_HIGH_RES_MODEBH1750_ONE_TIME_HIGH_RES_MODE_2
Wrapping Up
In this tutorial, you have acquired the knowledge to effectively utilize the BH1750 ambient light sensor in conjunction with the ESP32. The sensor’s simplicity is evident through its utilization of the I2C communication protocol, facilitating straightforward wiring. The accompanying library further streamlines the process by offering convenient methods to obtain sensor readings.
We trust that you have found this tutorial valuable. Share your thoughts in the comments section below, letting us know how you plan to incorporate the BH1750 sensor into your projects.
Explore our other tutorials featuring various sensors compatible with the ESP32 board, providing additional insights and possibilities for your projects:
- Effortless LED Control: ESP32 and WLED Setup Tips
- ESP32 Web Server Tutorial: PWM LED Brightness Control Slider
- ESP32 Capacitive Touch Pins: Basics for Interactive Projects
- Essential ESP32 ADC Basics: Analog-to-Digital Converter Explained


