
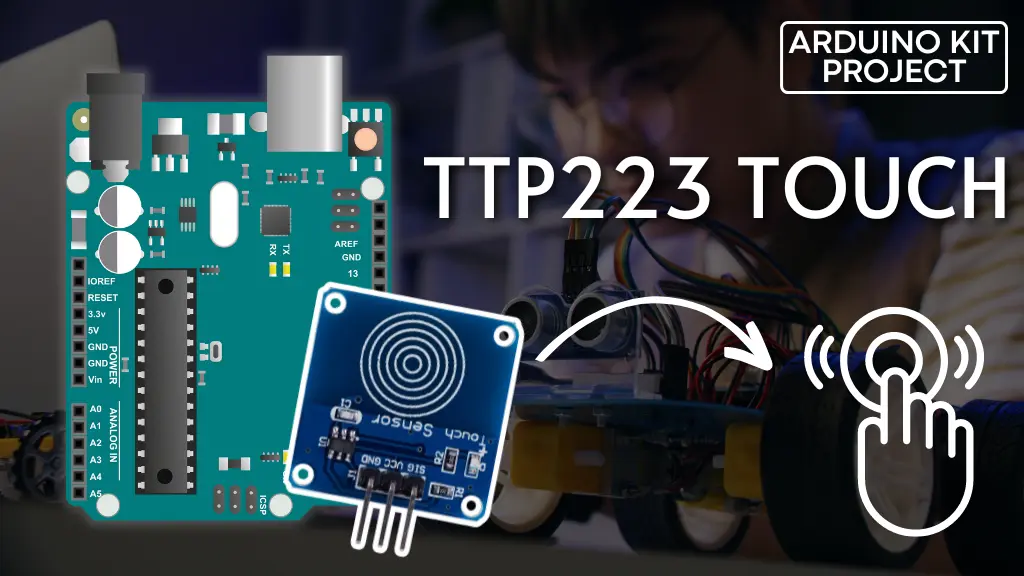
In this guide, we will walk you through the process of interfacing the TTP223 Touch Sensor with an Arduino board. Touch sensors are an innovative way to add touch-sensitive inputs to your projects, providing a more interactive and modern user experience. The TTP223 is a capacitive touch sensor that is easy to integrate and use with Arduino. Whether you are a beginner or an experienced hobbyist, this step-by-step tutorial will help you understand how to set up and use the TTP223 Touch Sensor effectively in your Arduino projects.
Description
The sensor features the TTP223 IC, which operates on the capacitive sensing principle. It includes a sensing electrode and an oscillator circuit.
When a conductive object, such as a finger, touches the sensing electrode, it alters the electrode’s capacitance.
This alteration is identified by the oscillator circuit, which then produces a digital output signal.
This signal indicates the presence or proximity of an object. The sensor is commonly used in various electronic devices, including toys and touch switches.
Touch Sensor Specifications
- The sensor requires a power supply of 2 to 5.5V DC.
- Its response time in touch mode is 60ms, while in low power mode, it is approximately 220ms.
- The output high (VOH) is 0.8V of VCC.
- The output low (VOL) is 0.3V of VCC.
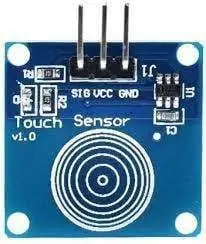
Touch Sensor v1.0 Pinouts

- VCC: Power supply pin
- SIG: Signal output pin, providing a digital output when a touch is detected on the sensor.
- GND: Ground connection pin.
TTP223 Touch Sensor Interfacing with Arduino to control a LED
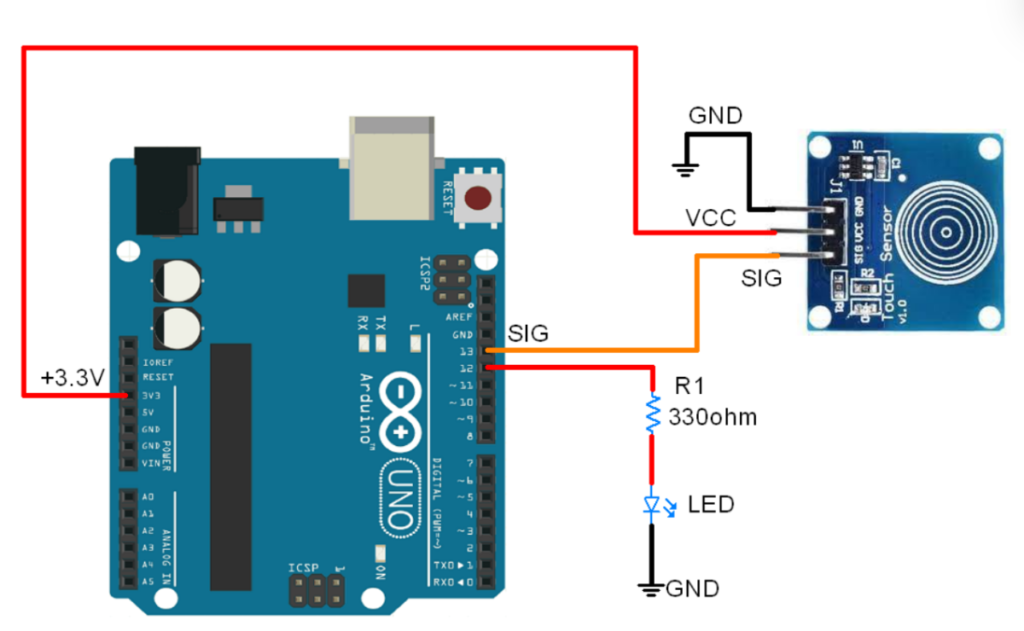
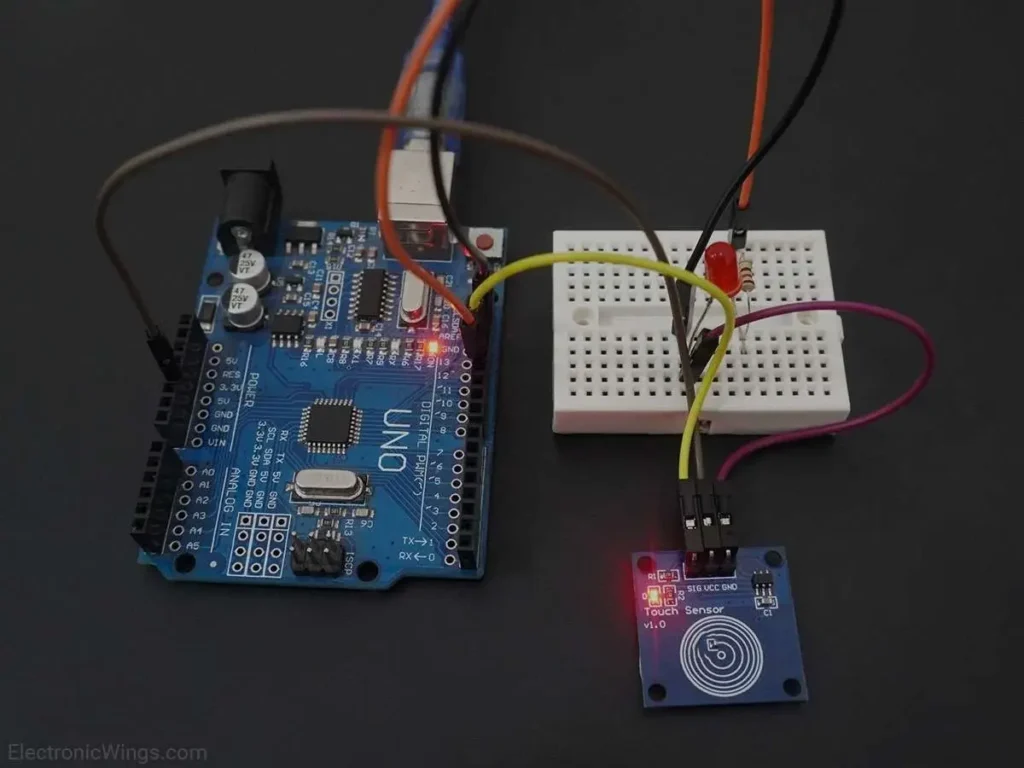
Parts Required
Toggle the LED using Touch Sensor and Arduino
When you touch the sensor with your finger, the sensor will detect the touch and set the LED pin to HIGH, turning the LED ON.
Conversely, when you remove your finger from the sensor, the sensor will detect this and set the LED pin to LOW, turning the LED OFF.
This is the basic logic behind the code.
The same logic is applied in the code below.
Code for Toggling the LED using Touch Sensor and Arduino
#define sensor_pin 13
#define led_pin 12

int laststate = LOW;
int currentstate ;
int ledstate = LOW;

void setup() {
  Serial.begin(115200);
  pinMode(sensor_pin,INPUT);
  pinMode(led_pin,OUTPUT);
}

void loop() {
  int currentstate = digitalRead(sensor_pin);
  if(laststate == LOW && currentstate == HIGH){
    if(ledstate == LOW){
      ledstate = HIGH;
    }
    else if(ledstate == HIGH){
      ledstate = LOW;
    }
    digitalWrite(led_pin, ledstate);
  }
  laststate = currentstate;
}
- Now upload the code.
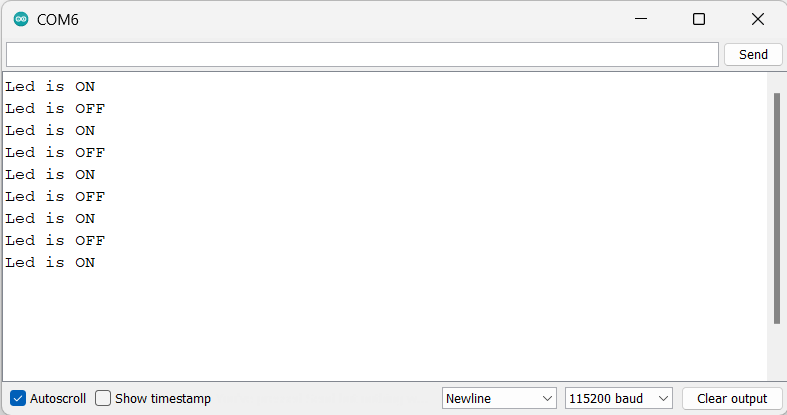
- After uploading the code open the serial monitor and set the baud rate to 15200 to see the output.
Output on the serial monitor
Let’s understand the code
First, we define the sensor and LED pins as 13 and 12, respectively:
#define sensor_pin 13
#define led_pin 12
Next, we declare variables to store the states of the sensor and LED: currentstate, laststate, and ledstate. Initially, these are set to LOW:
int laststate = LOW;
int currentstate ;
int ledstate = LOW;
In setup function
In the setup function, we initiate serial communication at a baud rate of 115200:
Serial.begin(115200);
We also set the sensor pin as INPUT and the LED pin as OUTPUT using the pinMode function:
  pinMode(sensor_pin,INPUT);
  pinMode(led_pin,OUTPUT);
In loop function
In the loop function, we read the sensor’s current state and store it in the currentstate variable using digitalRead:
int currentstate = digitalRead(sensor_pin);
The first if statement checks if the previous state was LOW and the current state is HIGH, indicating a rising edge:
if (laststate == LOW && currentstate == HIGH) {
If a rising edge is detected, we check the current state of the LED using the ledstate variable. If the LED is off (LOW), we set ledstate to HIGH to turn it on. If the LED is on (HIGH), we set ledstate to LOW to turn it off. We then write the new state to the LED pin using digitalWrite:
if (ledstate == LOW) {
    ledstate = HIGH;
} else if (ledstate == HIGH) {
    ledstate = LOW;
}
digitalWrite(led_pin, ledstate);
Finally, we update the laststate variable to the current state:
laststate = currentstate;
Related article
- Interface a 2-Axis Joystick with Arduino: A Processing Tutorial
- Control SMS & Calls with Arduino and A6 GSM Module
- Arduino and GPS: How to Interface NEO-6M Module
- 433MHz RF Tx-Rx Modules: Arduino Interface and Operation Explained


