

Arduino manufactures a diverse range of boards, each varying in size, microcontrollers, and processing capabilities.
For information about the Arduino UNO R3 board, please consult the “Arduino UNO R3” topic in the basics section of Arduino.
To explore the various Arduino boards available, you can visit this link.
To write code for different applications and program Arduino boards, the Arduino IDE is necessary.
You can download the Arduino IDE from the Arduino website. Being open source, the IDE is free to use. The latest version for your operating system can be downloaded from here.
An online IDE is also accessible. To utilize it, you must create an account on the Arduino website. For guidance on using the online IDE, click here.
Refer to the “Using Arduino IDE” and “Adding a new library to Arduino IDE and using it” topics in the basics section of Arduino to learn how to utilize the Arduino IDE.
To utilize Arduino boards with the Arduino IDE, they must be connected to the laptop/PC where the Arduino IDE is installed using a USB cable designed for the board.
When the board is connected to the laptop/PC via the USB cable, the Arduino device driver installs automatically if the IDE is installed using the Windows installer (XP to 10). However, in some cases, the driver may fail to install automatically.
If the IDE is downloaded as a ZIP package, the driver will not install automatically upon board connection.
Below are the steps for installing the device driver. Once installed, you can run the built-in blink program in the IDE to blink the onboard LED. You can refer to this link to blink the onboard LED of your board.
Parts Required
| Component Name | Buy Now |
| Arduino Uno REV3 | Amazon |
To install the driver, follow these steps:
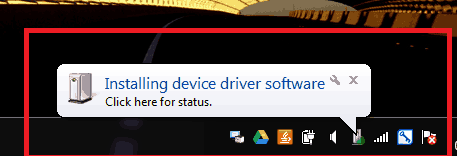
Connect the board to your computer/laptop using the USB cable. Windows will attempt to install the driver but will fail. You’ll see a pop-up on your screen.
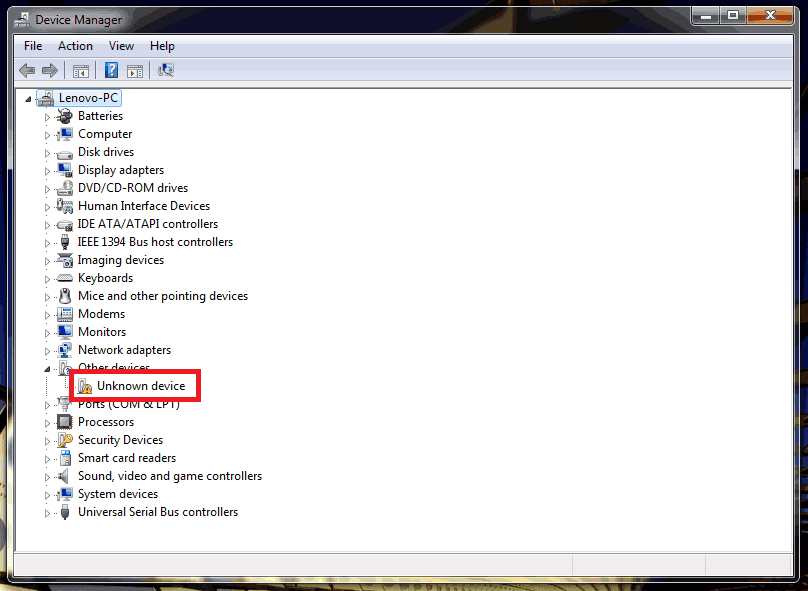
Open the Device Manager from the control panel on your computer/laptop and locate the “Other Devices” section. You’ll find an “Unknown Device” as shown in the image below.
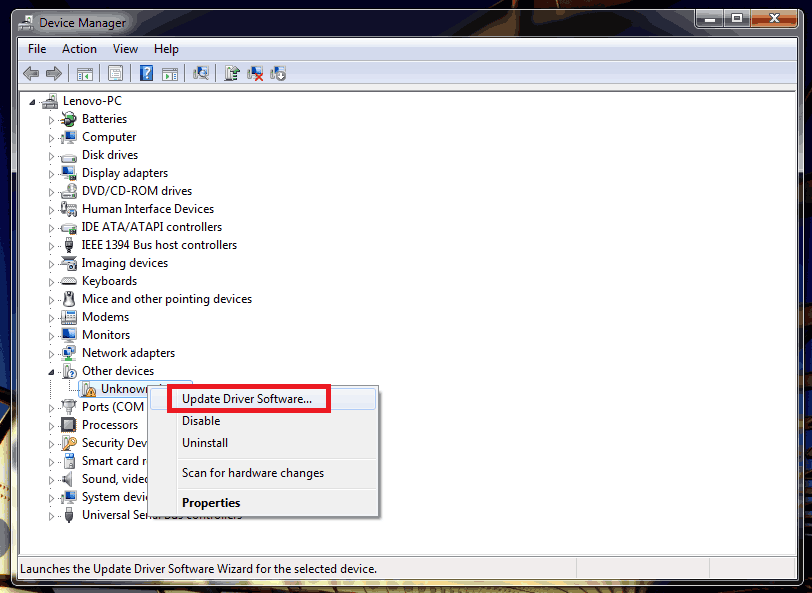
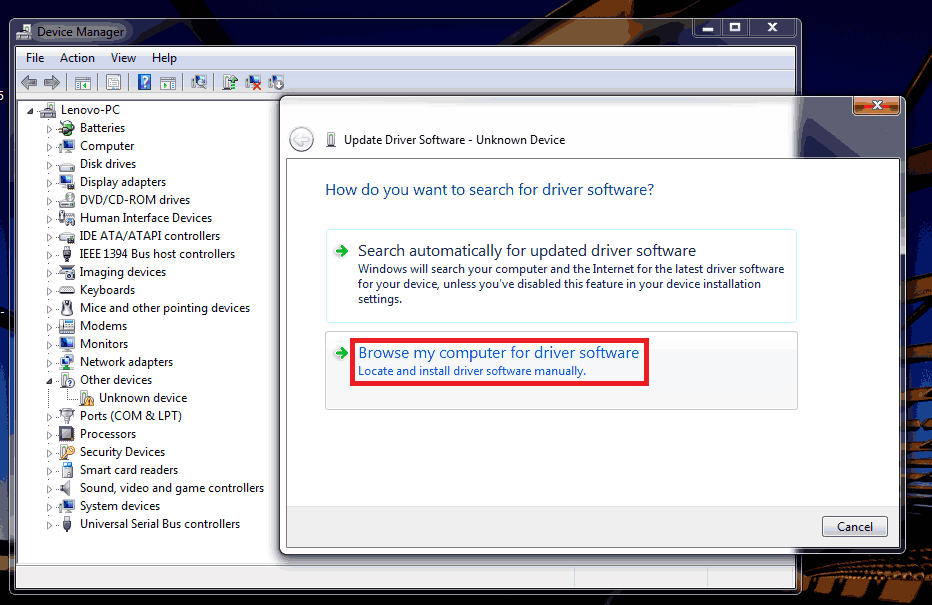
Right-click on the Unknown device and select the “Update Driver Software” option.
After completing step 3, the Update Driver Software window shown in the image below will appear. Choose the “Browse My Computer For Driver Software” option.
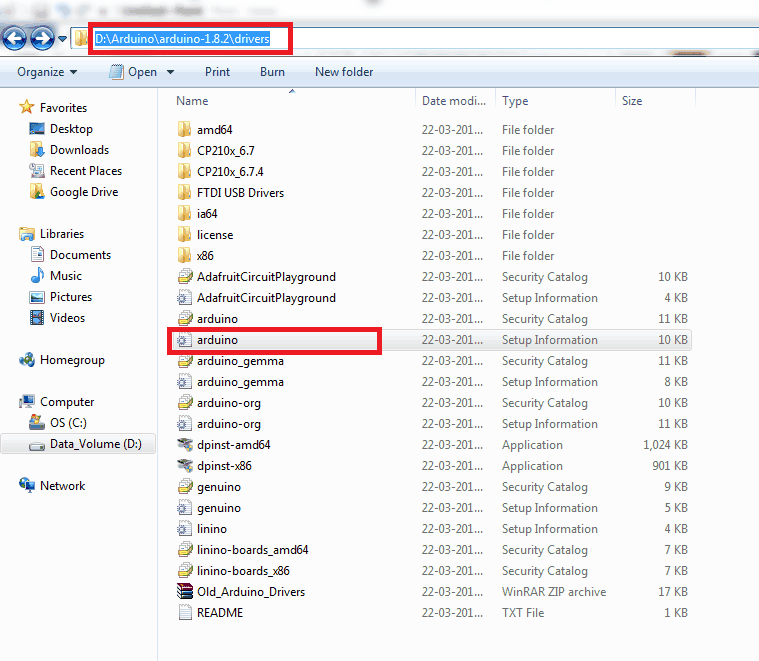
A window will appear where you can select the location from which the driver needs to be installed. See the image provided below.

Select the “include subfolders” option. Use the browse option to select the drivers folder from the location where you unzipped the IDE.
In the example given, the IDE was unzipped in the D drive in a folder named Arduino. The IDE, upon unzipping, had the folder named arduino-1.8.2, which contains various folders including the drivers folder.
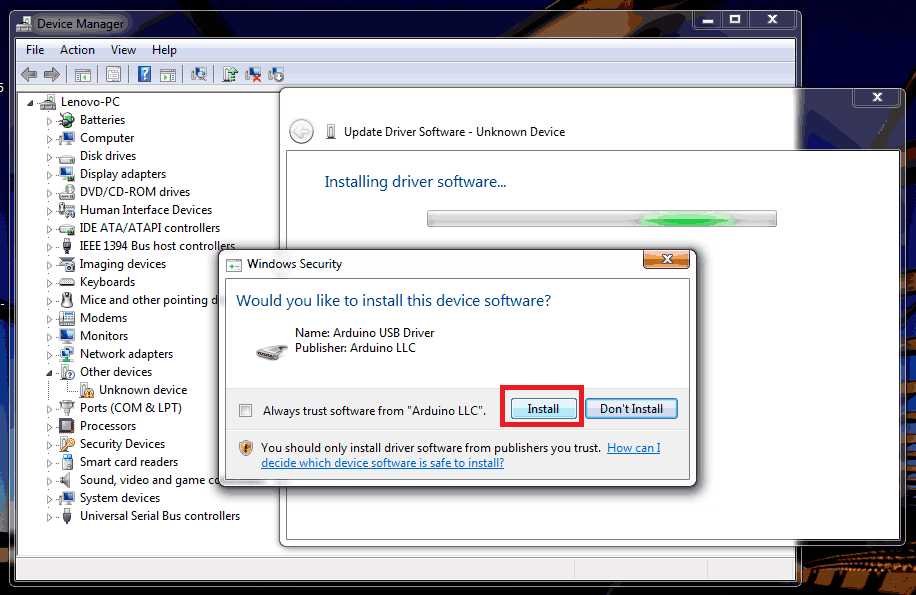
Click “Next” after selecting the drivers folder. The computer/laptop will begin installing the driver. A window may pop up as shown in the image below. If this occurs, click “install” as shown in the image.
The above step may take some time. Once the driver has been successfully installed, you’ll see a window as shown in the image below.
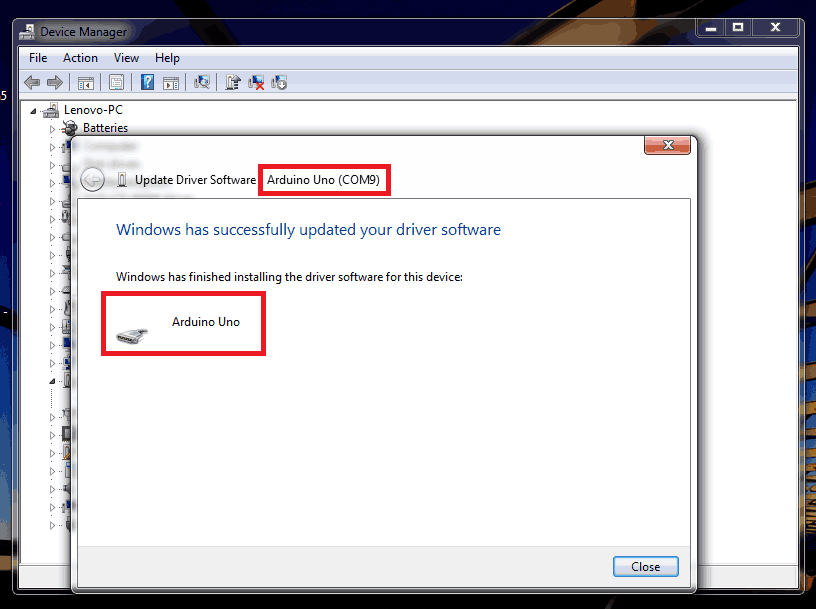
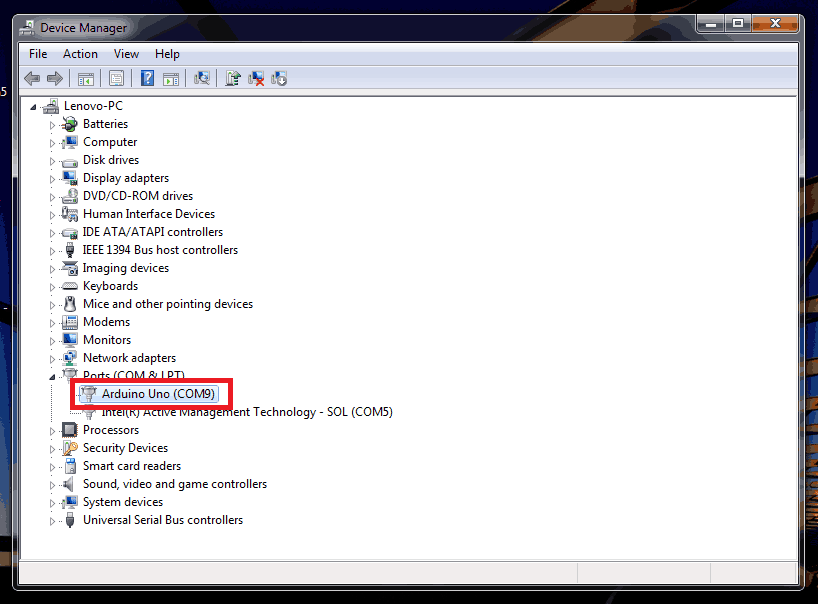
Check the device manager again. The device listed as Unknown Device under Other devices will no longer be present. Instead, you’ll see a new device with the name of the board for which it was installed (e.g., Arduino Uno) listed under Ports (COM and LPT).
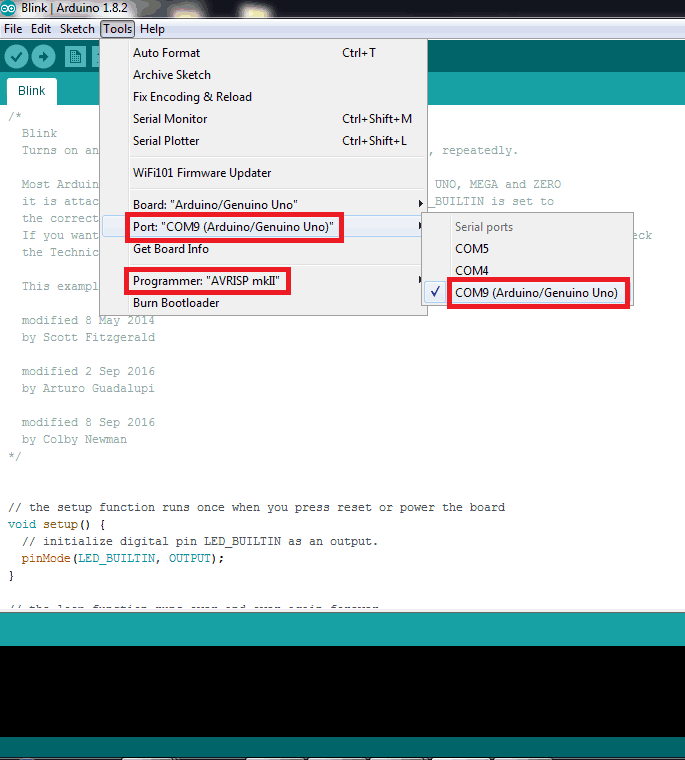
Now, open the IDE. Open an example sketch or a new sketch. Under the “Tools” tab, you’ll find the device installed in the Port option as shown below.
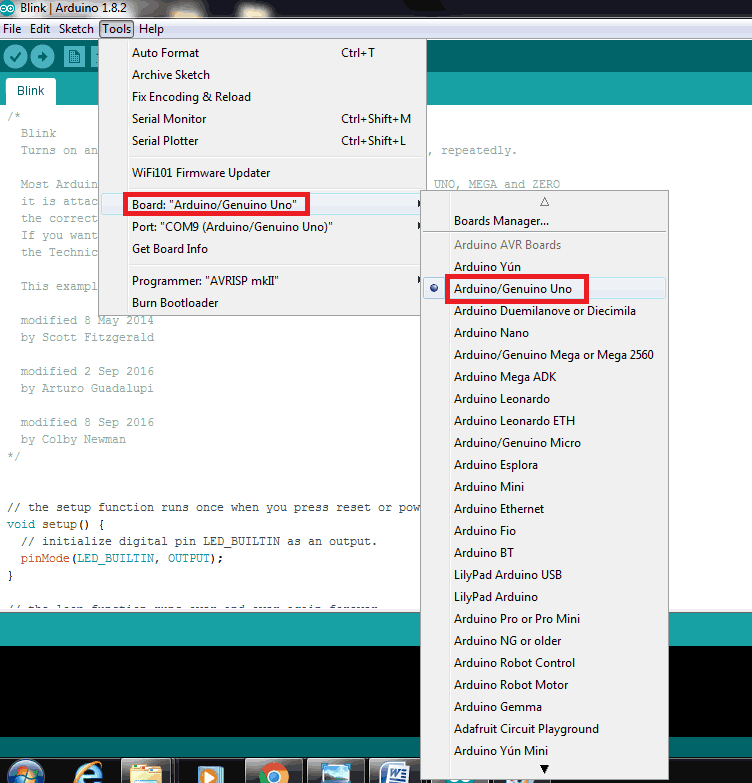
Additionally, select the board you are using from the list of boards under the “Tools” tab.
Also, select the AVRISP mkII as the programmer from the list of programmers under the “Tools” tab.
The device driver has been successfully installed, and the board is ready to be used. Simply open the sketch you want to run or write an application sketch and upload it onto the board.
Related article
- Arduino Basics: Getting Started with DIY Electronics
- Essential Guide to Arduino’s Watchdog Timer
- Mastering Analog-to-Digital Conversion (ADC) in Arduino
- Mastering UART Communication Basics
- Mastering the Basics of SPI Protocol Communication
- Exploring I2C: Essential Communication Protocol Basics
- Serial Communication Essentials: Delving into Arduino USART
- Mastering Digital GPIO: Arduino’s Key to Control


